We all need to take a screenshot at some point, but we don’t always know how. There are several ways to take a screenshot in Windows 11. Here, we explain three step-by-step methods.
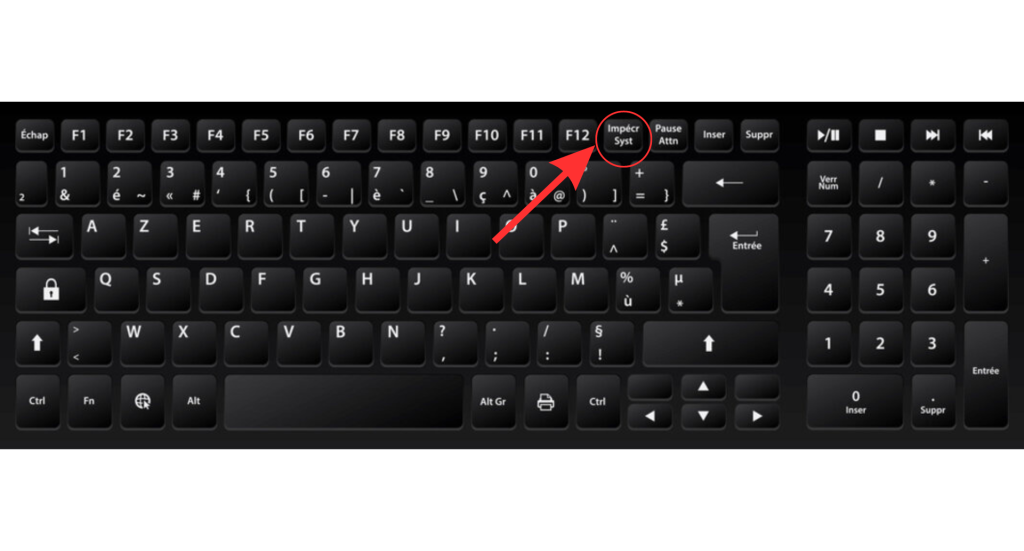
Method 1: Use the Print Screen key (PrtSc)
The simplest and most common way to take a screenshot in Windows 11 is to use the “Print Screen” (or “PrtSc”) key on your keyboard. Here’s how to do it:
- Press the Print Screen key (PrtSc) on your keyboard. The screenshot will be copied to the clipboard.
- Open an image-editing program, such as Paint or Photoshop.
- Press Ctrl+V to paste the captured image.
- Save the image on your computer, choosing a format (JPEG, PNG, etc.) and location.
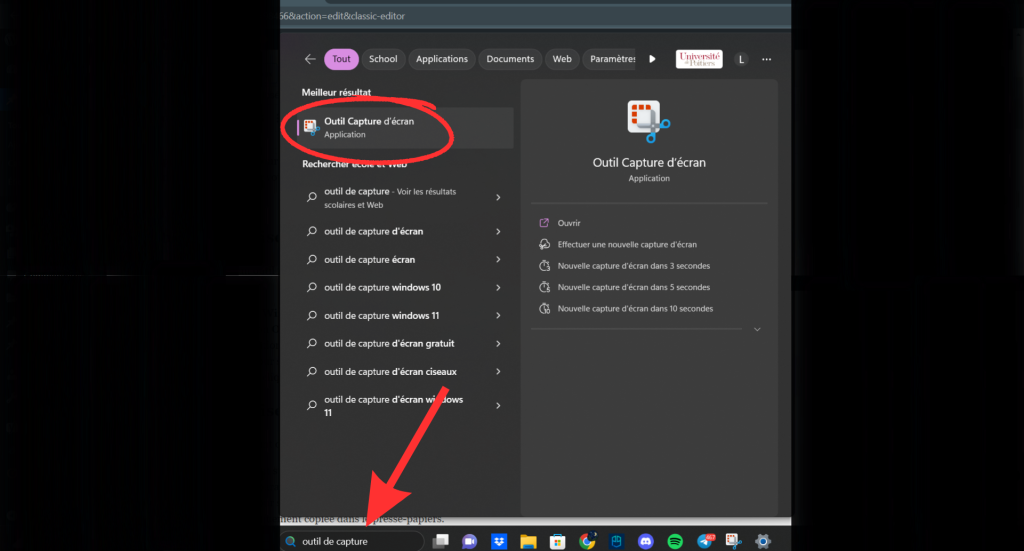
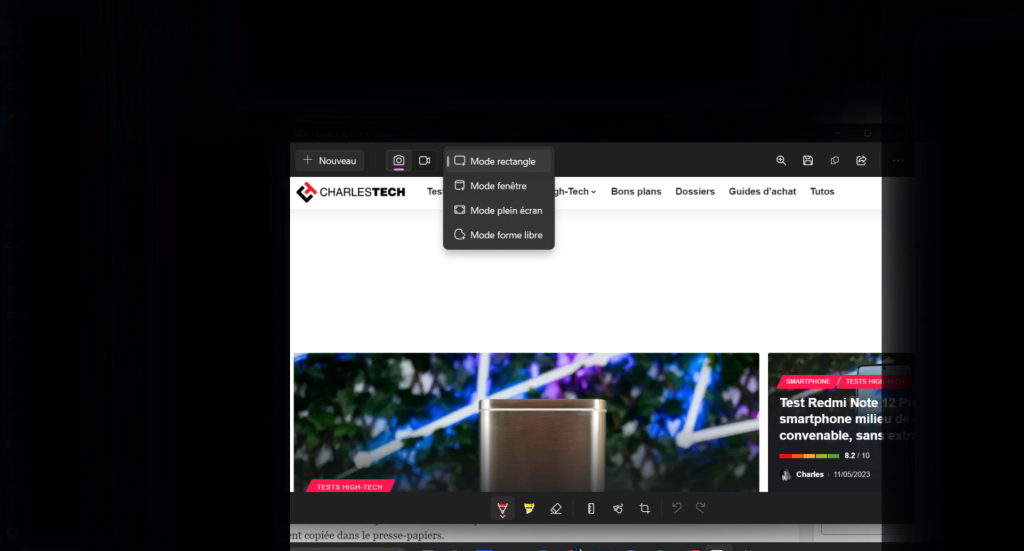
Method 2: Use the Snipping Tool
Windows 11 includes a built-in tool called “Snipping Tool” that lets you capture specific parts of your screen. Here’s how to use it:
- Press the Windows key and type “Capture Tool” in the search bar.
- Click on the Capture Tool application to open it.
- Choose one of the available screen capture options: rectangle, freeform, window or full screen.
- Use your mouse to select the area you wish to capture.
- Save the image by clicking on the “Save” button and choosing a location and format.
Method 3: Use Windows keys + Shift + S
Windows 11 also lets you take a screenshot quickly using a combination of keys. Here’s how to do it:
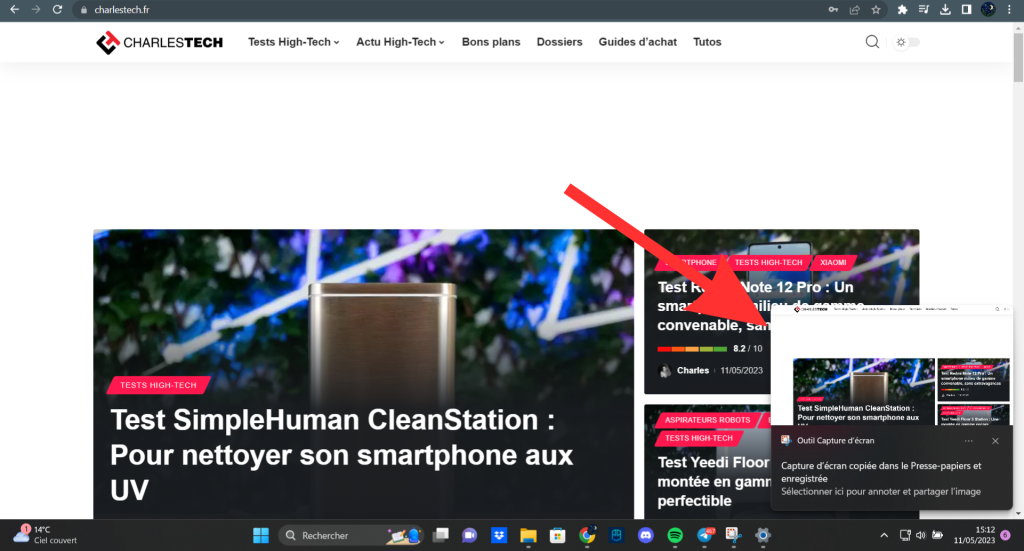
- Simultaneously press Windows + Shift + S on your keyboard.
- The capture area will appear and your screen will become slightly darker.
- Use your mouse to select the area you wish to capture.
- The image will be automatically copied to the clipboard.
- Paste the image into an image-editing program and save it.


Conclusion
By following these methods and tips, you’ll be able to take a screenshot in Windows 11 quickly and easily. Each method has its advantages and disadvantages, but the one that suits you best will be the right one in every case.