Converting files to PDF can be very practical. However, it’s not always easy, and in this article we’ll show you how to convert almost any file to PDF with Windows 11. This is useful for text files, images and other files that can simply be read, but it’s neither useful nor possible to convert audio or video files to PDF, as this simply doesn’t help. But Windows is equipped with a powerful tool that lets you convert a file to PDF in just a few clicks, free of charge and without any software. Just by using your computer, here’s how to do it.
Converting to PDF with Windows 11
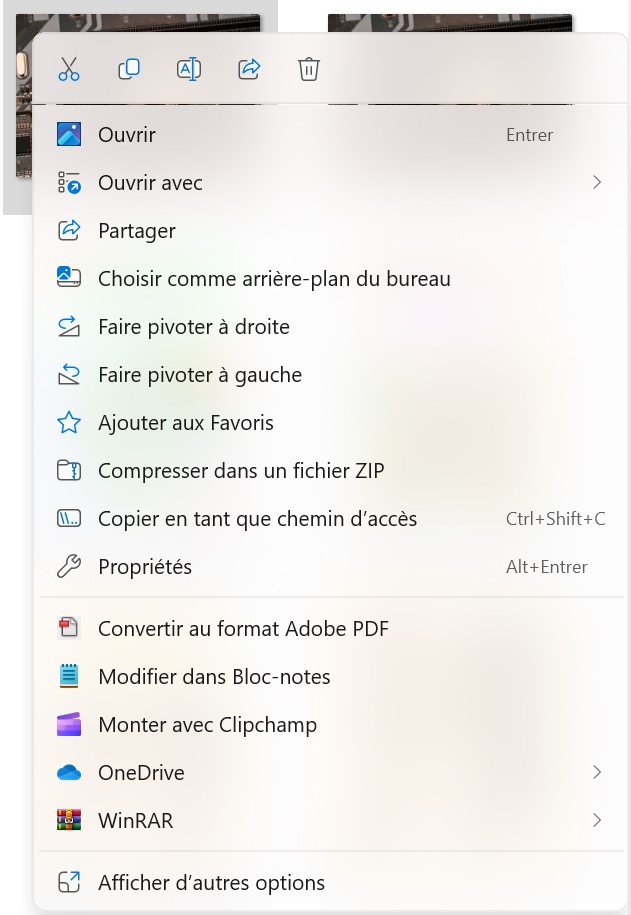
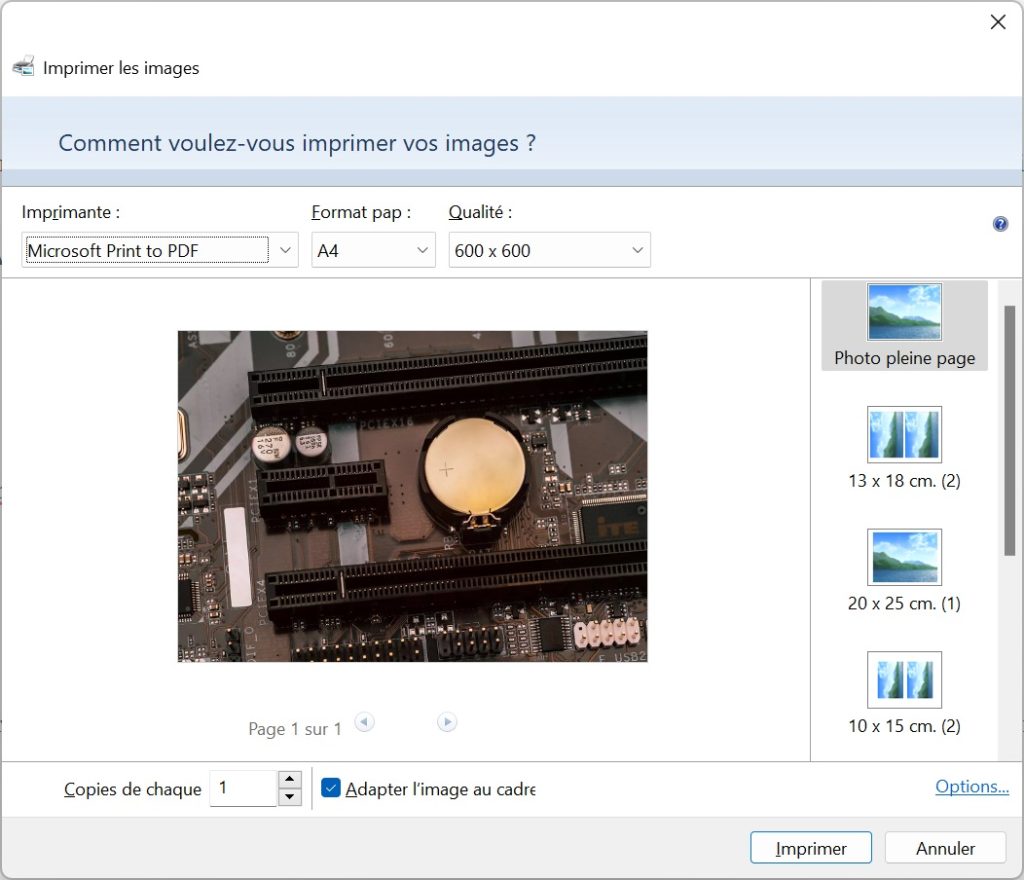
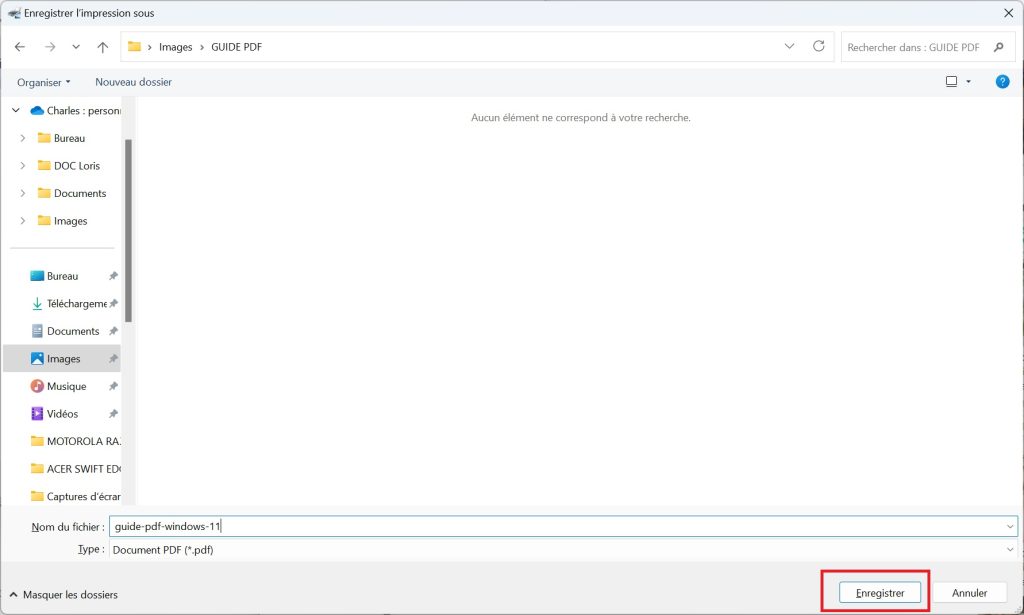
Whether you want to convert a PNG image to PDF, or convert other file types such as text documents or JPEG scans to PDF, we’re going to use a Windows tool that’s the operating system’s virtual printer. This allows you to avoid sites that sometimes charge fees and can potentially collect data or have their servers hacked. 1. First, open the folder containing the file you wish to convert to PDF. Then right-click on it, and on Windows 11, select “Show more options”. 2. In the full context menu, select the Print option. 3. Once you’ve done this, a print window appears, so click on the printer drop-down menu to select the one we’ll be using here, called “Microsoft Print to PDF”.


