As with any version of Windows, you can disable automatic updates for Windows 11 via Windows Update. This facet of Windows allows you to benefit from all the latest updates automatically. But it may be that, for a reason of your own, you wish to disable this service on your computer. Here’s a complete tutorial, showing you the easiest way to disable automatic updates temporarily.
Disable updates from Windows Settings
The operation takes just a few clicks. All you have to do is go to Windows Settings to disable automatic updates for 5 consecutive weeks. Once this period has elapsed, you’ll need to repeat the process. To ensure that everything goes smoothly on your side, it’s important that you follow the steps carefully. Here’s how to do it:
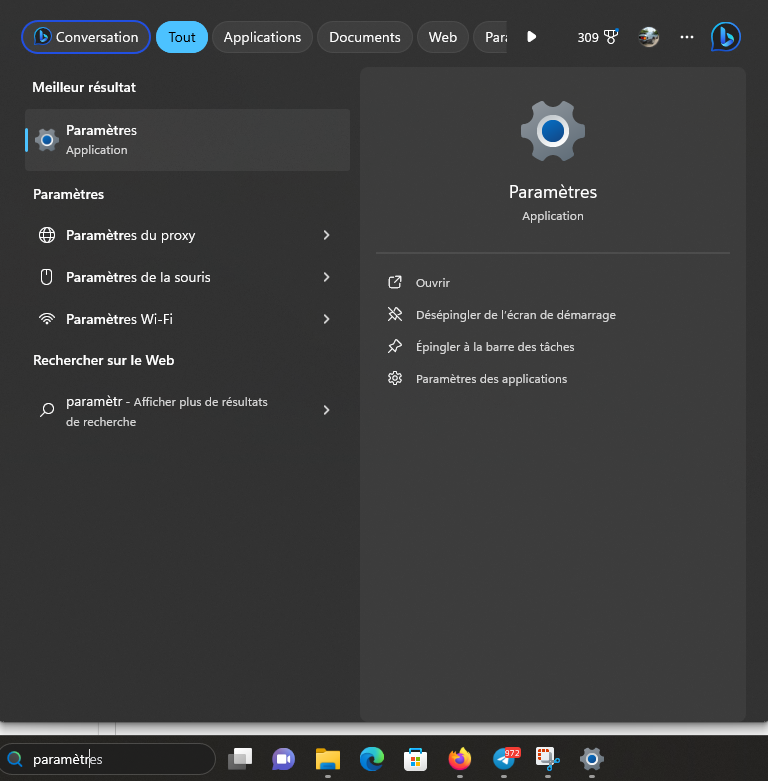
- First, go to the Windows search bar, then type “Settings”.

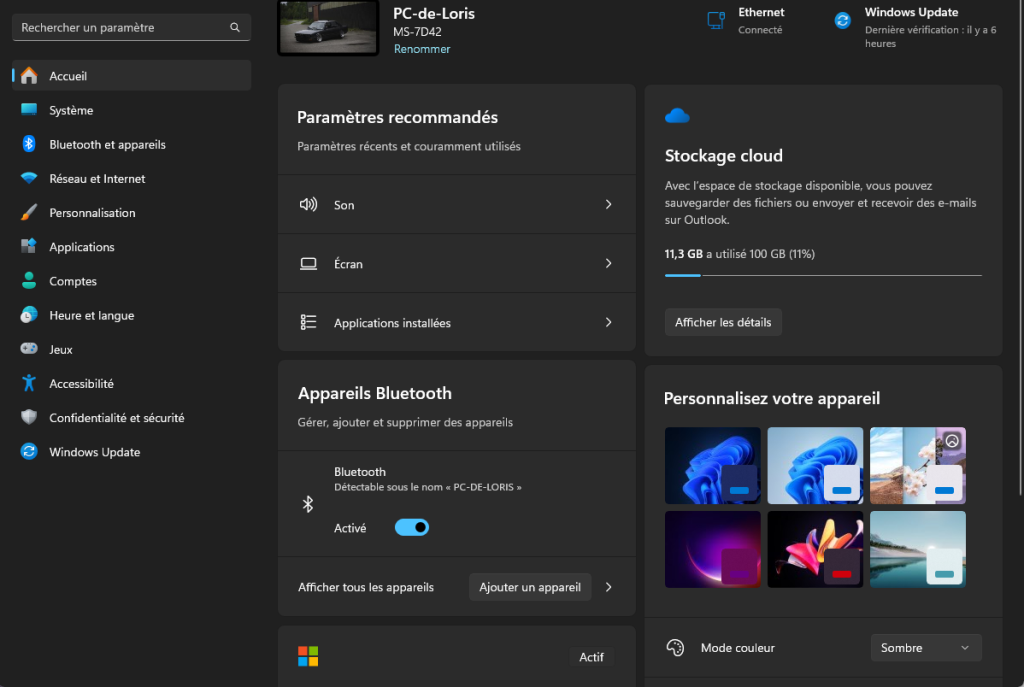
- Click on it, and select “Windows Update”, which is at the very bottom of the left-hand sidebar.

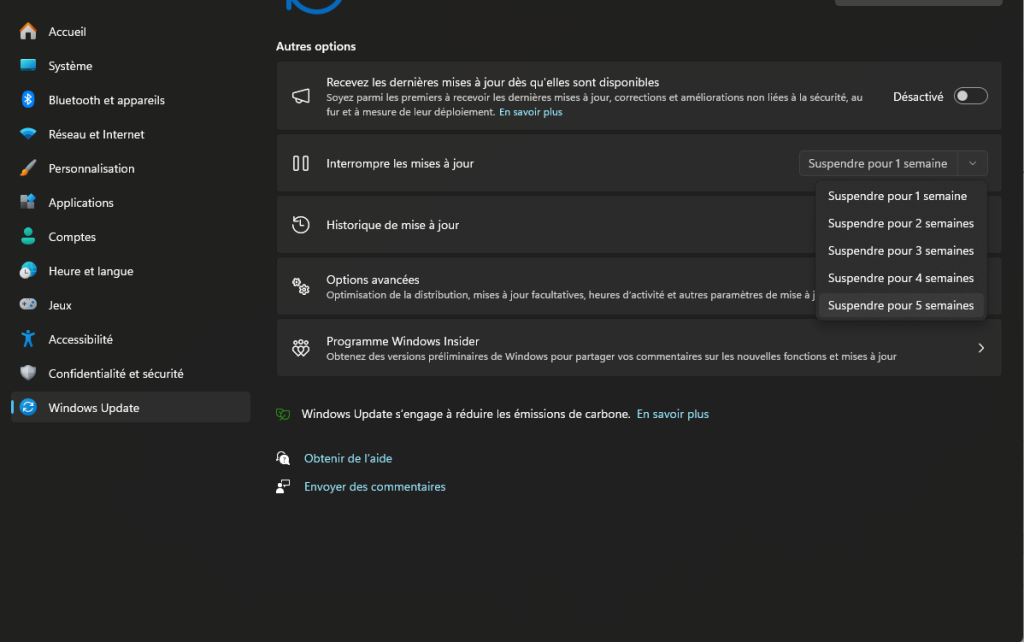
- Once you’ve done that, look for the “Suspend updates” option, then pull down the little tab.

- You have the choice of suspending them for between one and five weeks. Choose the one that suits you best, then apply your choice.
Now you know one of the easiest ways to stop automatic updates on Windows 11. We hope we’ve been able to help you as best we can.


