The BIOS (Basic Input/Output System) is an essential part of every computer, including high-end portable gaming consoles like the ROG Ally. Unlike Android gaming devices, which have no BIOS, the ROG Ally requires BIOS updates to ensure optimal interaction between hardware and software.
Why update the BIOS?
The BIOS enables the motherboard to communicate with the device’s hardware and software, orchestrating the operation of all components. Although every ROG Ally is equipped with the necessary hardware, firmware and software to work right out of the box, BIOS updates can improve compatibility, performance and fix minor bugs. However, it’s important to note that some updates can also introduce new problems. For example, an update in 2023 caused a coil noise on the device.
How do I update the BIOS of the ROG Ally?
Following these steps to update your ROG Ally’s BIOS can help you avoid potential risks:
1. Connect your device: Make sure your ROG Ally is plugged in to avoid power loss during the update.
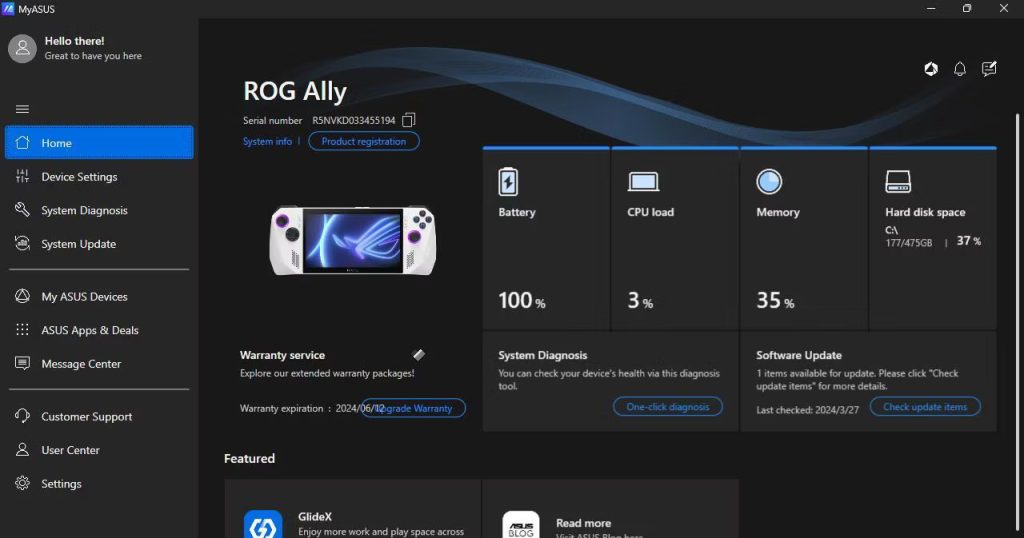
2. Open the MyASUS application: Go to the Windows desktop of your ROG Ally and open the MyASUS application.

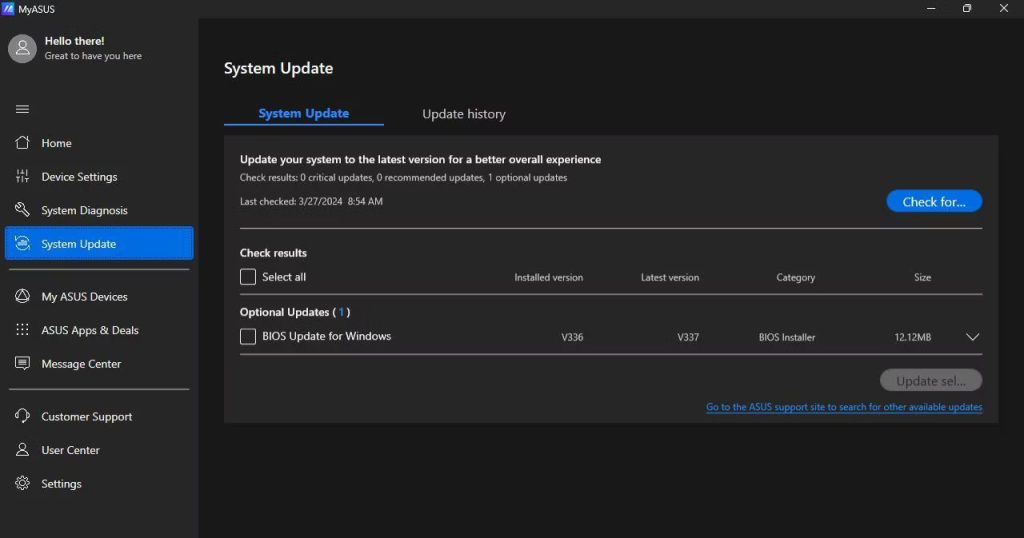
3. Go to System Update: Select the menu icon (three horizontal lines) in the top left-hand corner, then tap on “System Update”.

4. Check for updates: Click on the “Check” button to search for updates.
5. Select BIOS update: Check the box next to BIOS update, then select “Update”.
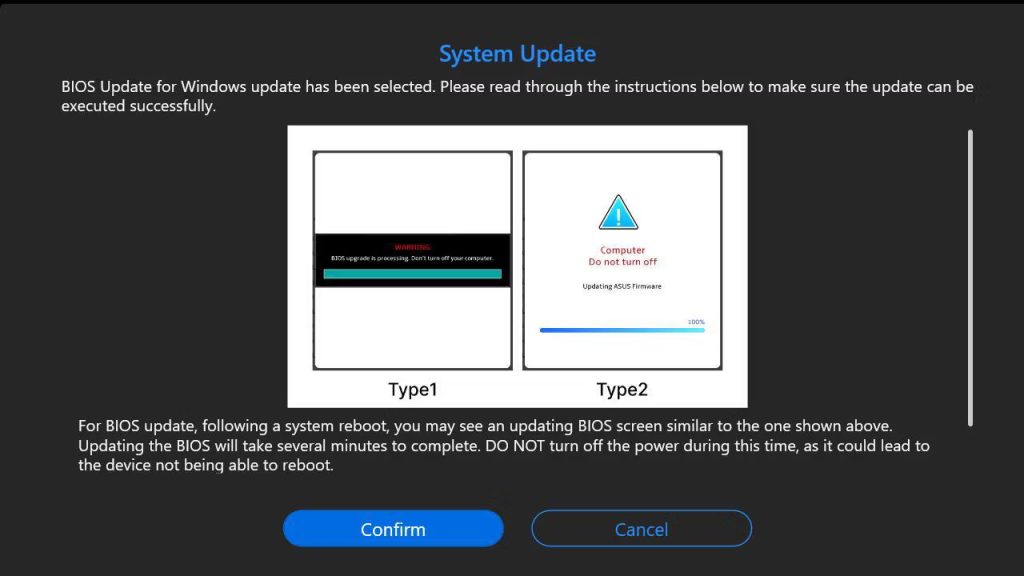
6. Follow the instructions: Read the instructions and warnings carefully. Do not switch off your device during the update.

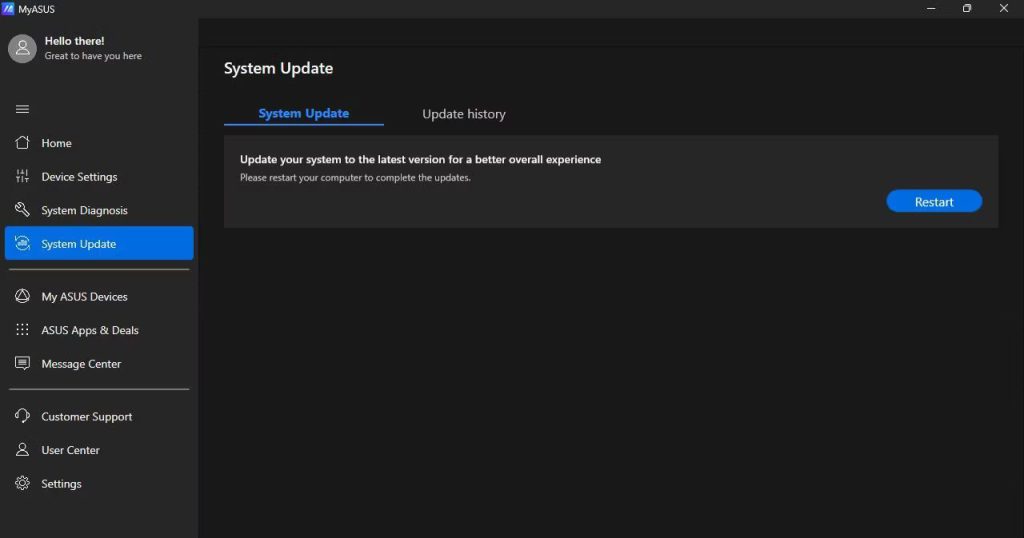
7. Give your device time to update: This may take about 10 minutes. Restart your machine once the update is complete.

Updating your ROG Ally’s BIOS may seem daunting, but by following these steps, you can minimize the risks and ensure that your device is running with the latest enhancements and security patches.


