Google has just announced its first Developer Preview ofAndroid 14. This version, normally intended for application developers, unveils some of the new features of the next version of Android. However, anyone can install it, simply and free of charge, as long as your device is compatible. In our case, we performed the operations on a Pixel 7
Devices compatible with Android 14 Developer Preview 1
As always, and rightly so, Pixels are the first smartphones to benefit from this preview version of Android 14. The full list of smartphones compatible with Android 14 Developer Preview 1 is as follows:
These will not, of course, be the only smartphones that will eventually be compatible. However, this first test version of Android 14 focuses on a small number of devices, which in some ways represent the majority of the smartphone market.
Preface
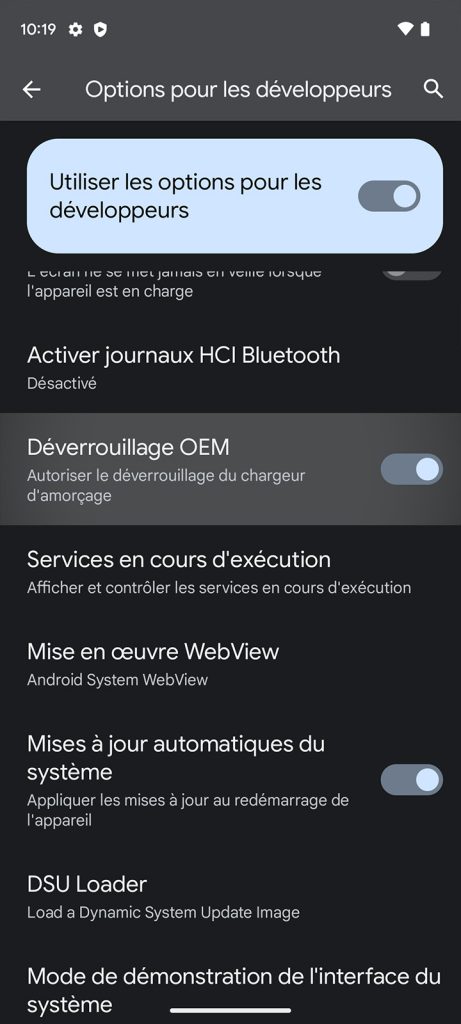
Before we start anything, we’d like to remind you that it’srisky to install this beta on your personal, primary device. It’s far from being a stable version, and this is especially true of this very first preview. Android 14 Developer Preview 1 requires you to open your bootloader. If this term doesn’t ring a bell, we advise you not to continue reading this article. Finally, as you may have deduced, installing this version of Android 14 will result in the loss of all data on your smartphone. If there’s anything important on it, it’s time to back up.
Prerequisites
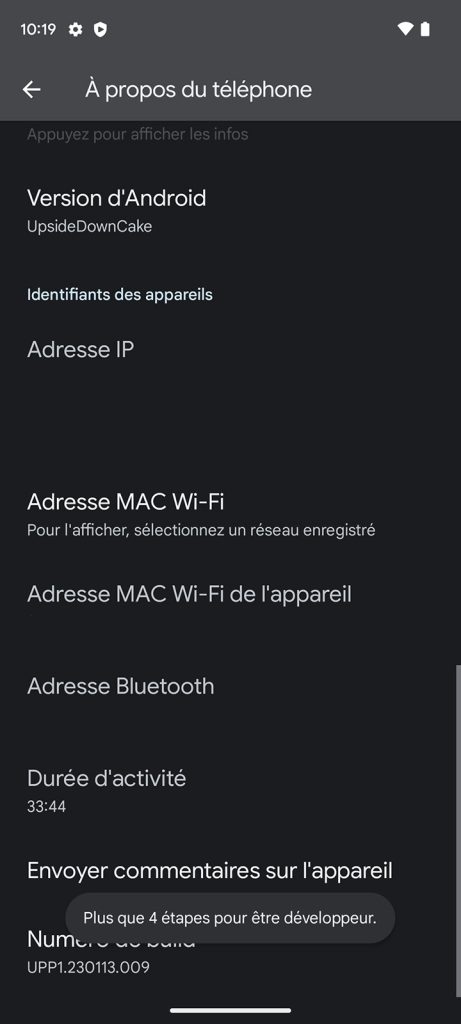
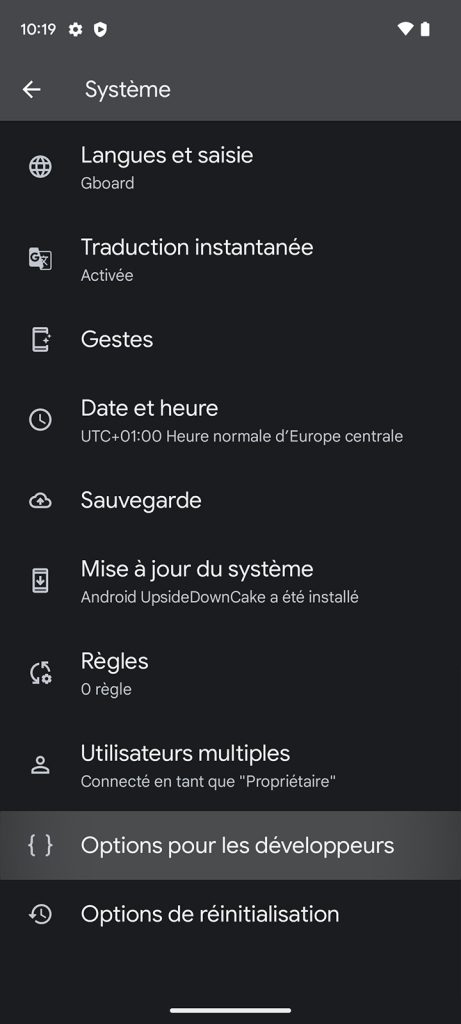
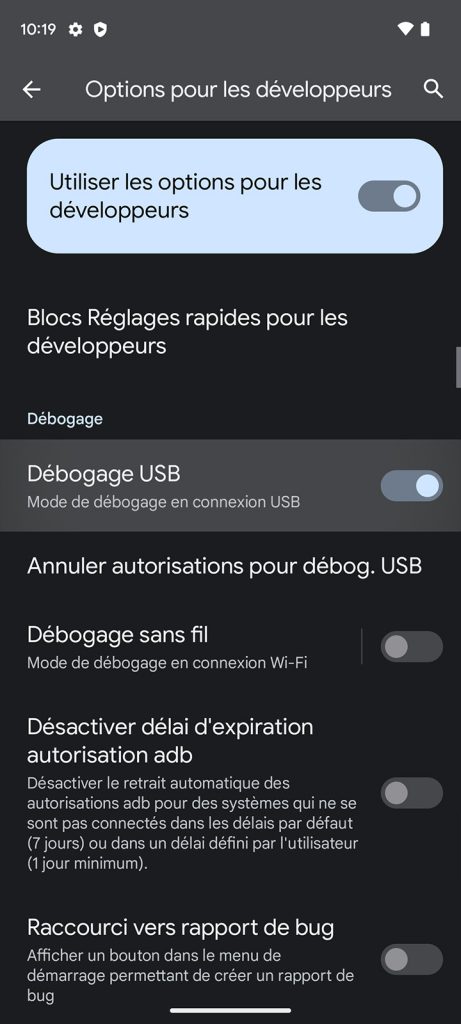
First, you’ll need to put your smartphone in developer mode. You’ll need to go to your smartphone’s settings, then to the about category, scroll down to the bottom and tap repeatedly on the build number
Installing Android 14 Developer Preview
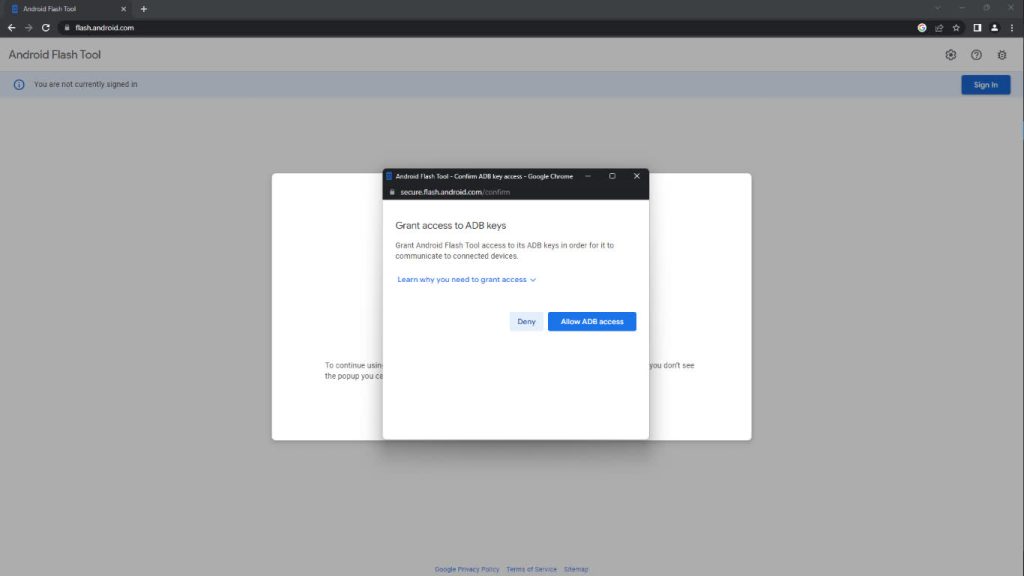
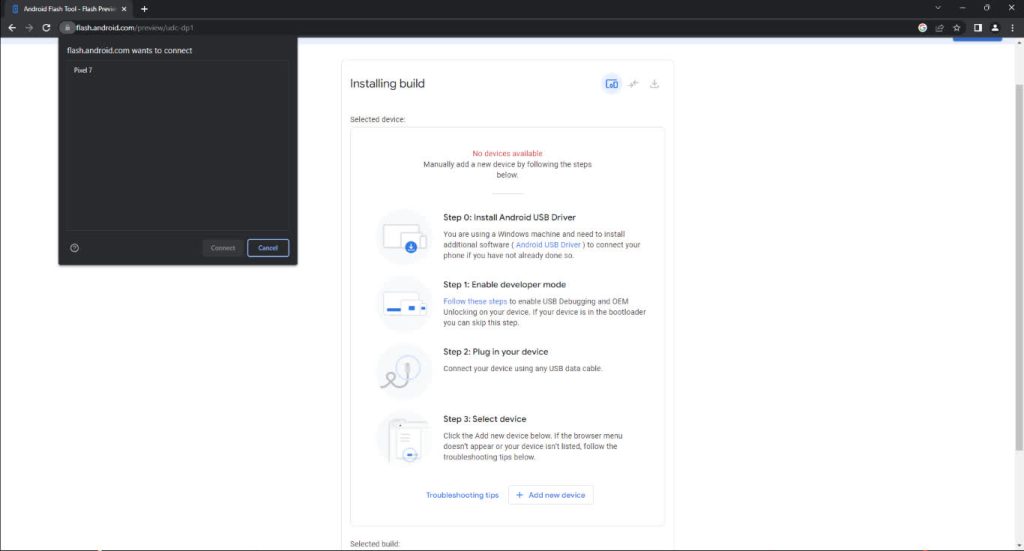
Once all the prerequisites have been met, you’ll need to connect your smartphone to your computer using a cable, ideally the one supplied in the smartphone box, and then go to Android Flash Tool. When you connect to the site, the utility will ask you for permissions to access ADB. Remember to check for blocked pop-ups, to the right of the URL bar, if the pop-up doesn’t appear