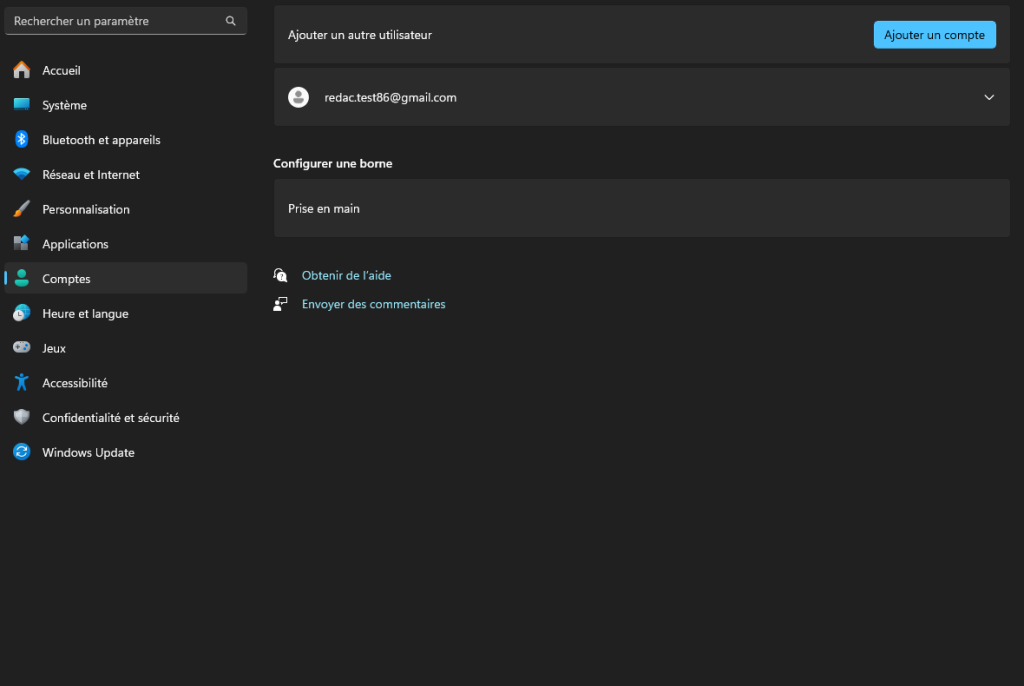
In this tutorial, I’ll explain in a clear and concise way how to add or remove a user on Windows 11. It’s a process that anyone can do, because it’s as simple as it is short.
How to add a user on Windows 11
I’ll start by explaining how to add a user to your Windows 11 profile. It should take no more than a few minutes to complete the operation, as all you need are the settings. In the interests of your success, I recommend that you follow the steps below carefully and in order:
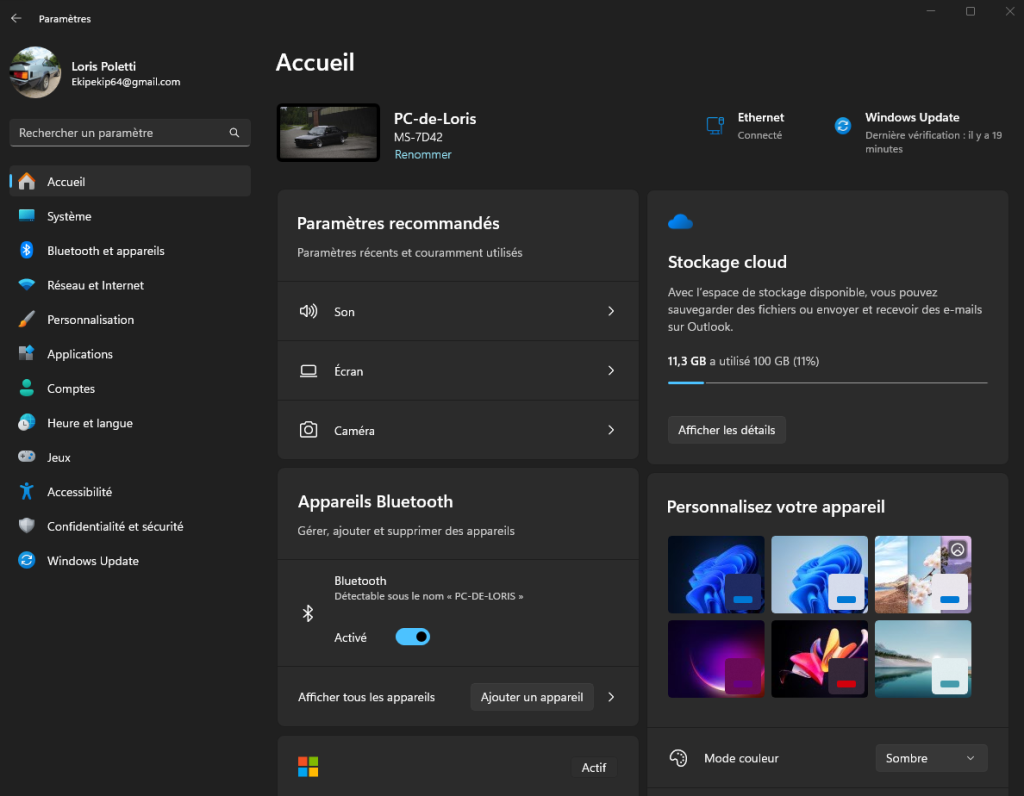
- Start by selecting the Windows Start menu, then go to Settings.
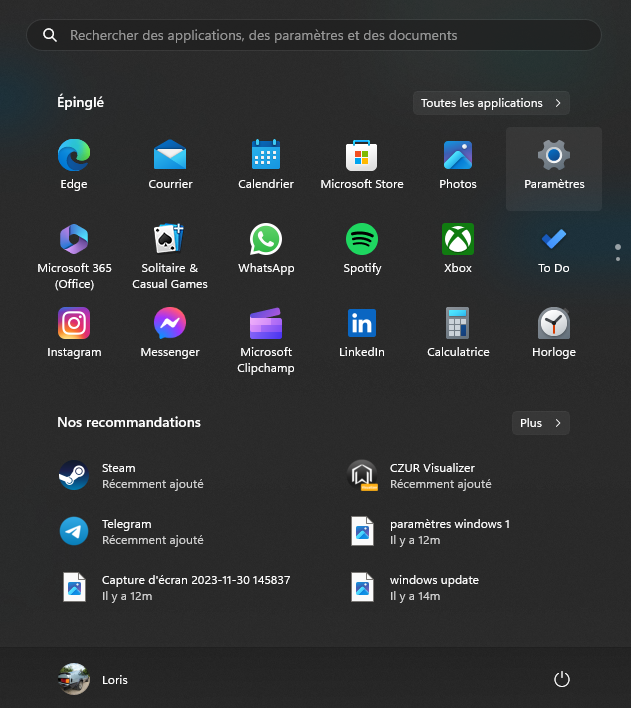
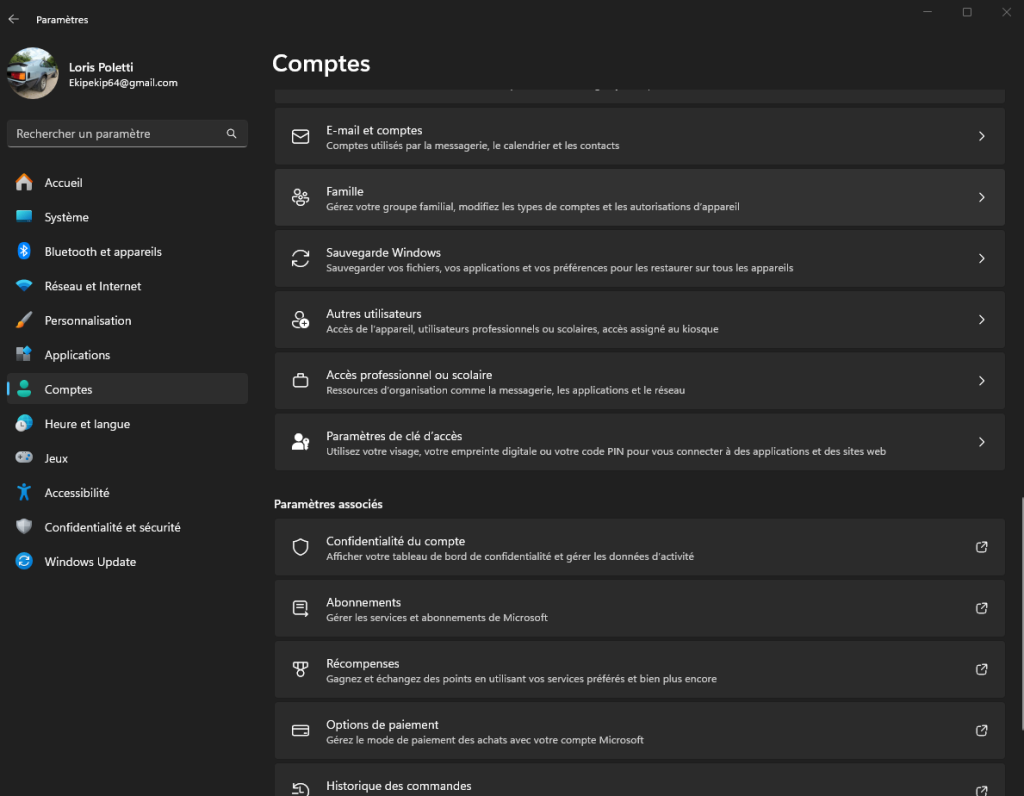
- Once you’ve done this, go to the Accounts section on the left-hand side of the window.
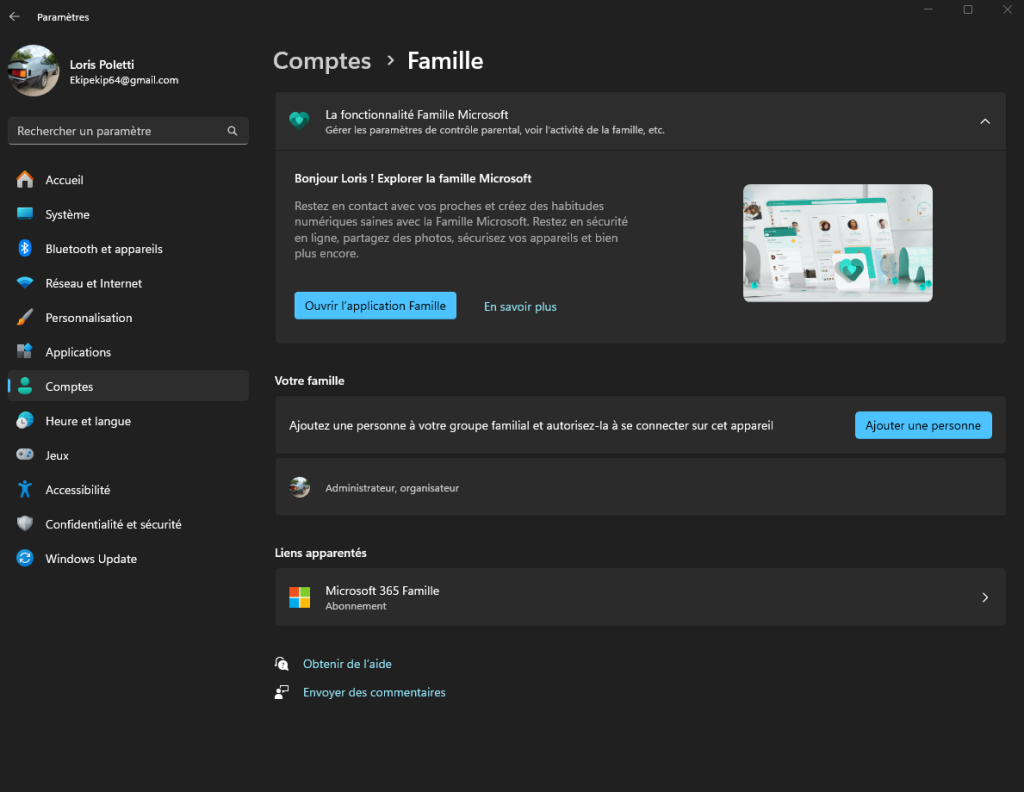
- Scroll down until you find the Family option, then click on it.
- From there, simply click on Add a person, then enter their personal details.
Now that you know how to add an account on Windows 11, let’s take a look at how to delete one or more.
How to delete a user on Windows 11
The principle behind deleting a Windows 11 account is pretty much the same as for adding one. Once again, it’s very straightforward, if you follow my instructions correctly. Here are the steps you need to take to complete the operation:
- Go to Windows 11 settings, then choose Accounts.
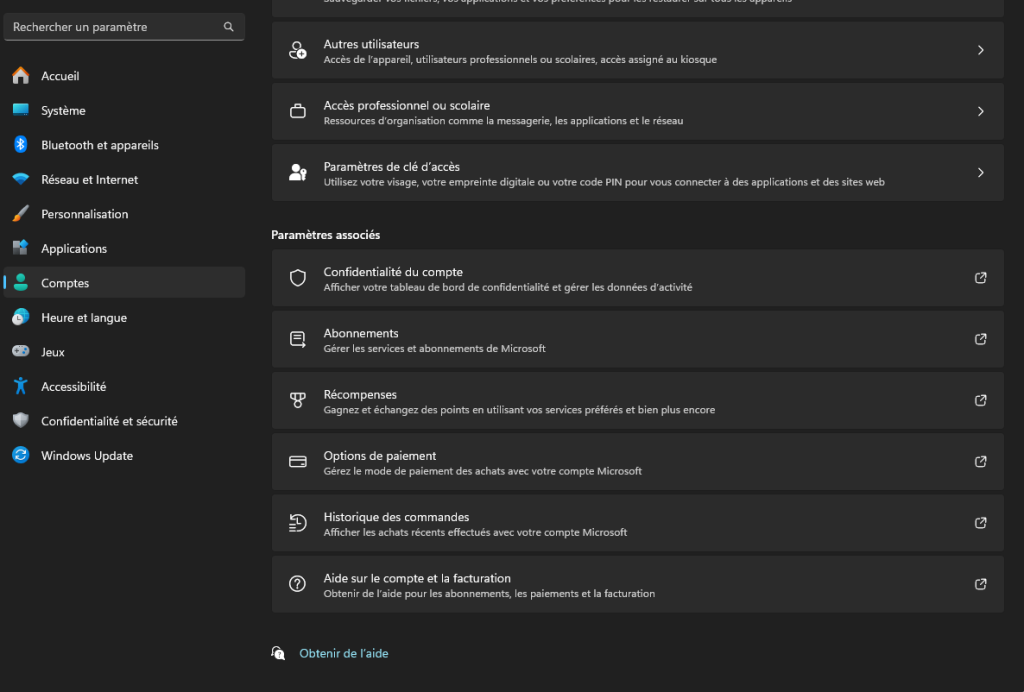
- Then select Other Users.
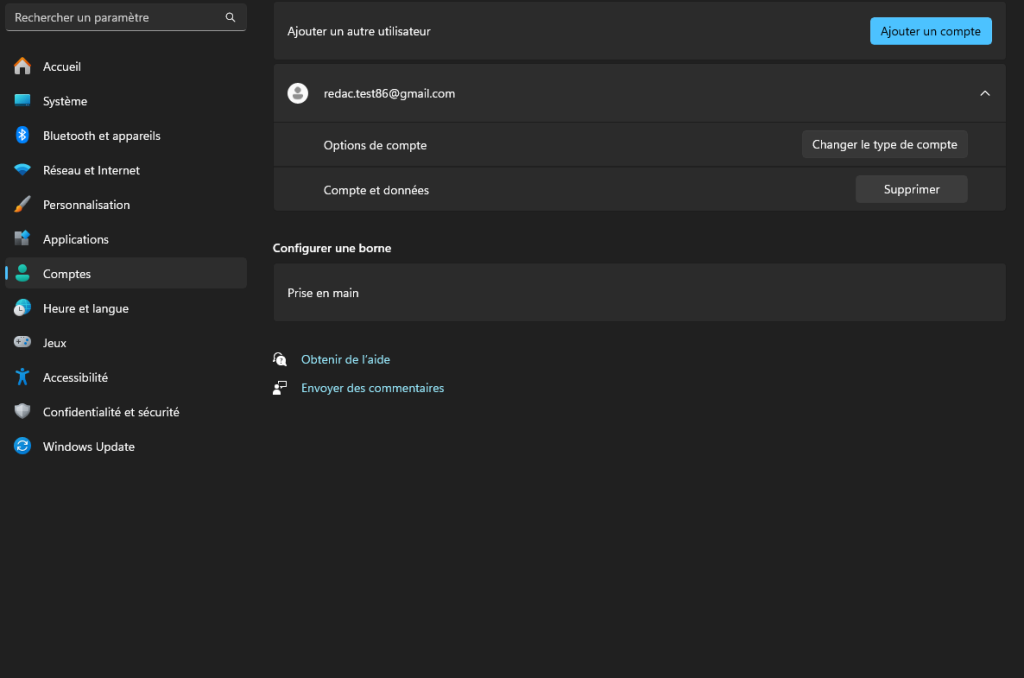
- You’ll then have access to all Windows users on your PC, so select the account you want to disappear.
- After clicking on it, select Delete.
You can now delete any accounts you don’t need.


