It’s handy to know how to change your language and region settings on your Windows 11 system, especially if you’ve just acquired a new, unconfigured device. In addition to changing the display language, Windows 11 also lets you change the language for speech recognition and text-to-speech conversion.
Installing a language pack in Windows 11
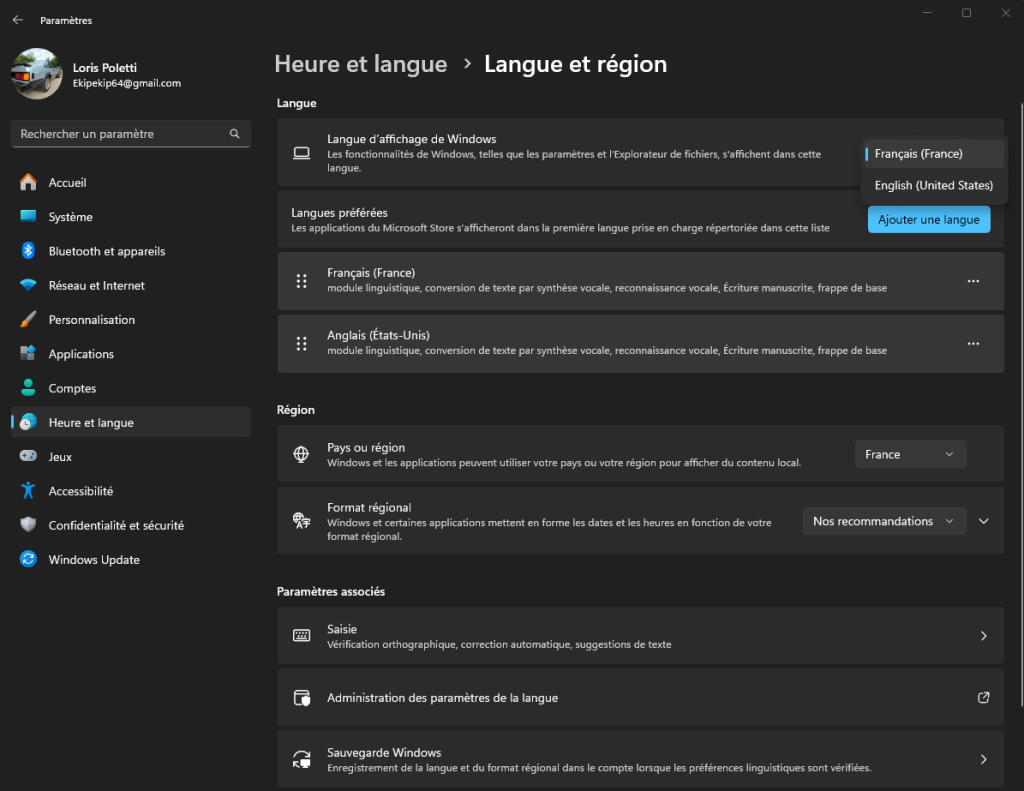
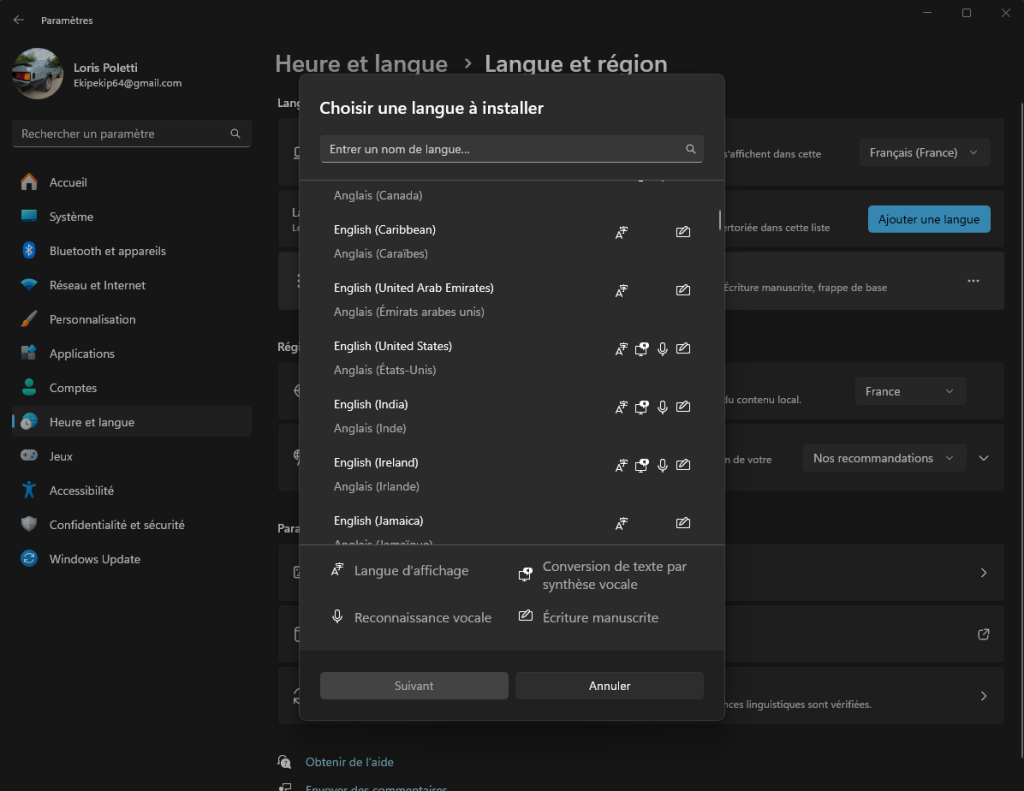
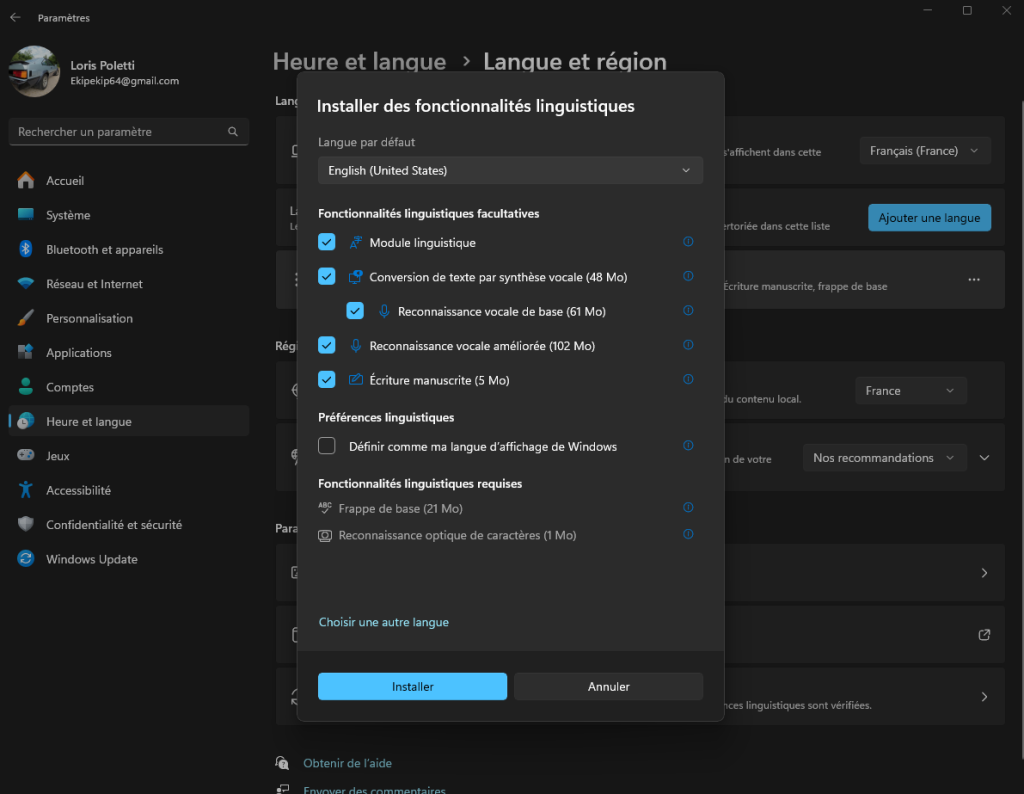
Before you can even get started, you’ll need to install a Windows language pack, if you haven’t already done so. Generally speaking, your PC only supports the language of your country, so it’s very simple. First of all, you’ll need to go to your computer’s settings, then select the “Time and Language” section, then click on “Language and Region”.
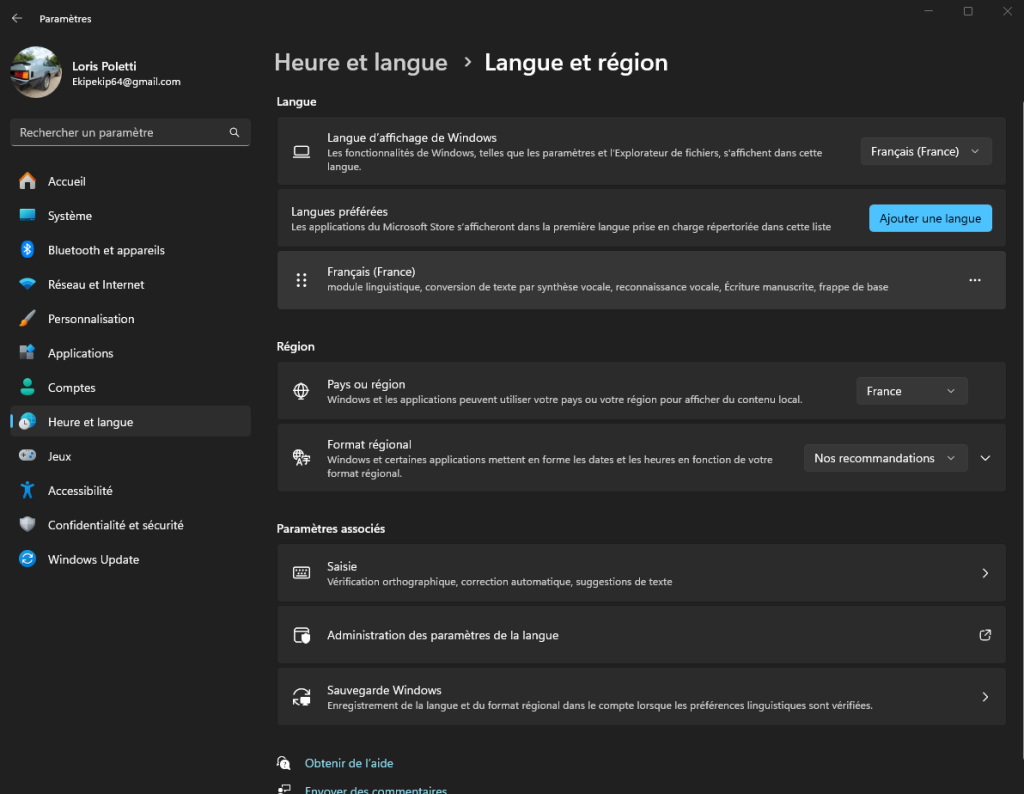
Changing the predefined language on Windows 11
As we’ve just seen, you’ve installed the language pack you want to use on your PC. That’s a good start, but now it’s time to see how to set it up. In fact, installing the language pack was the most time-consuming task of this tutorial, since all you’ll have to do is go back to Language and Region settings, then in the “Windows display language” section, click on the language you’ve just downloaded.
